Managing Users
What you can do on the portal depends on the permissions given to the role assigned to you. User roles and permissions maintain the security of your site.
Roles and Permissions
The following is a list of each role used in the data portal, with a description of its purpose and a general description of what the role is able to do. Multiple roles can be assigned to a user, but generally they are in a hierarchy where any higher level role has equal and greater permissions of a lower level role.
Anonymous User
This is any site visitor accessing the site who is not logged in. Anyone who is not authenticated is an anonymous user. It is sometimes useful to log out of your account to view pages as an anonymous user will see them.
Permissions:
- View and search published content
Content Creator
Content Creators are the most common users who will have access to login and provide datasets to be published on the environmental data portal. These users should also be members of a group, which would typically be the government agency they are employed by.
Permissions:
- Create datasets and resources
- Edit datasets and resources related to their group.
- Create visualizations (charts)
- Edit own visualizations
Site Manager
This role is the highest level possible for non-technical users. A Site Manager performs administrative functions, and is a role best suited for a supervisor, manager, or other trusted upper-level employee. The Site Manager is provided with a sweeping overview of the site as well as its content and users. However, they do not deal with the technical back-end configuration or code.
Permissions:
- Create, edit and delete datasets and resources associated with any group.
- Create, edit and delete visualizations (charts).
- Create, edit and delete standard webpages, dashboards and stories.
- Create and manage groups
- Change menu structure
- Administer users
- Configure Harvests
Administrator
Administrators hold the highest level of all roles and permissions and have no restrictions. Administrators are able to modify settings of the underlying Drupal platform, and can modify most things of the site to meet user needs. This role is for a web professional with high technical competency and a good understanding of how Drupal works.
Permissions:
- Modify themes and layouts, and enable or disable modules.
- Modify Drupal settings
Adding New Users
As a Site Manager, a core piece of your role involves adding users to the site. You can add new users by clicking on the People link and choosing the Create user menu item for quick access or the main People page.

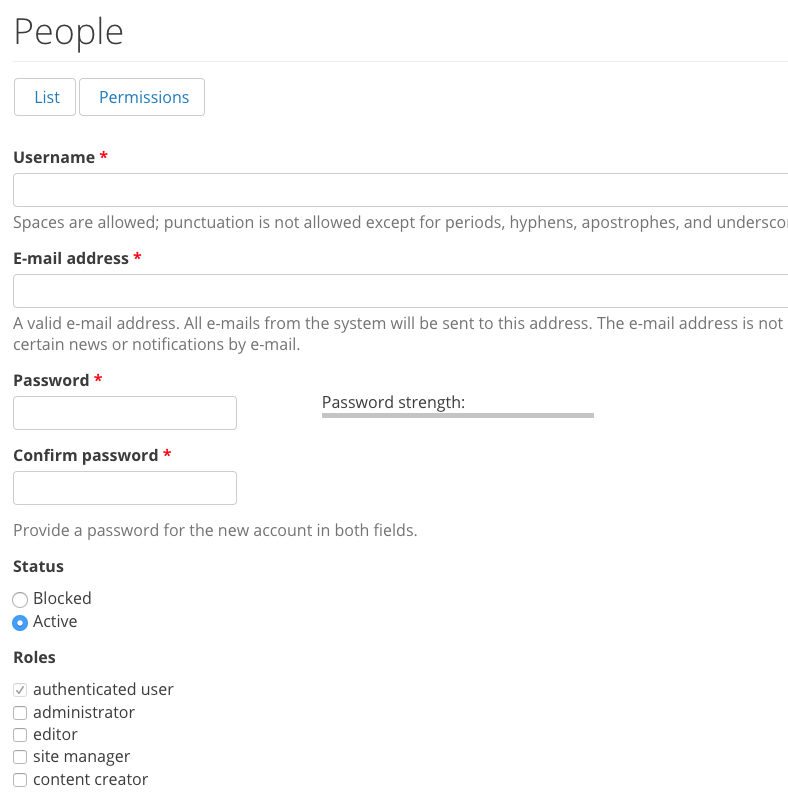
Key information when adding a new user
Username: Create a unique username to create a new user account. The user can change their username once they’re logged in as long as it’s still unique, but you’ll have to choose a name to begin with for the user to first access the site.
Email address: This is how the user will be contacted with notifications about their account and how they can recover a lost password. Choose an email that they are likely to check on a regular basis.
Password: The user should change whatever you originally enter for the password, but you’ll need to choose the initial password so that the user can login to their account and change the profile information.
Roles: As you’re adding a new user you’ll choose which role that person should have from the list of user types detailed in another section. Choosing a role might be obvious in some cases, but in other cases it may be less clear. The role you assign will depend on how much a person needs to do with the site. Higher-level access roles automatically have all the permissions of lower-access roles, but ingeneral we recommend erring on the side of lower-access. Once you click the Create new account button at the bottom the page, the account is created and can now be managed with other existing user accounts.
Adding Users to a Group
New and existing users must be manually added to a group(s) in order for them to add data to the portal. Site managers can add users to groups through the group section.
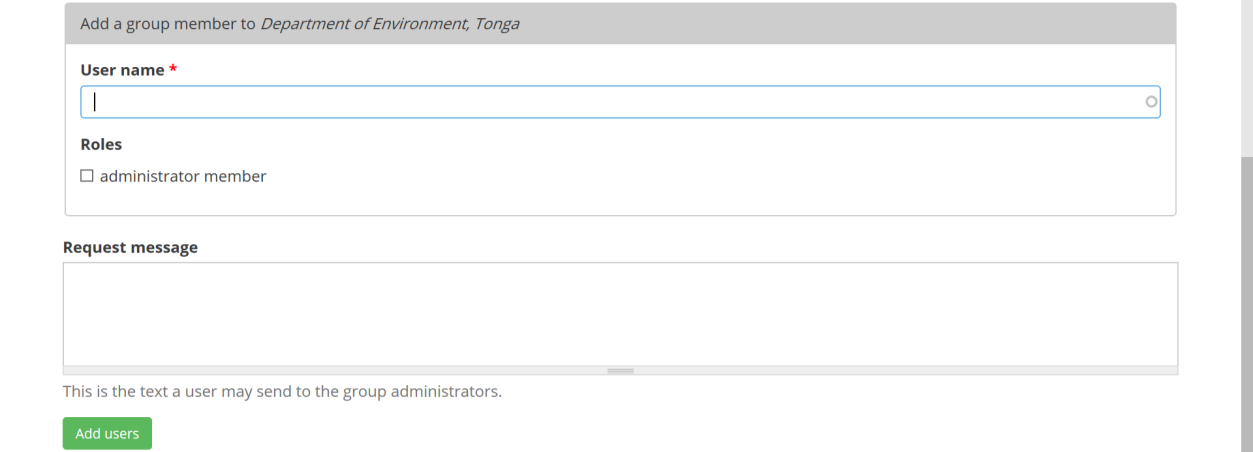
- Navigate to the groups page and select the group that you would like to add the user to
- Click on Group -> Add people

- Start typing a username and a matching list of existing user names will pop-up. Select the user you want to add. You can also add a message to be sent to group administrators (e.g. informing them of a new group member). When complete, click green Add users button below to add the user.
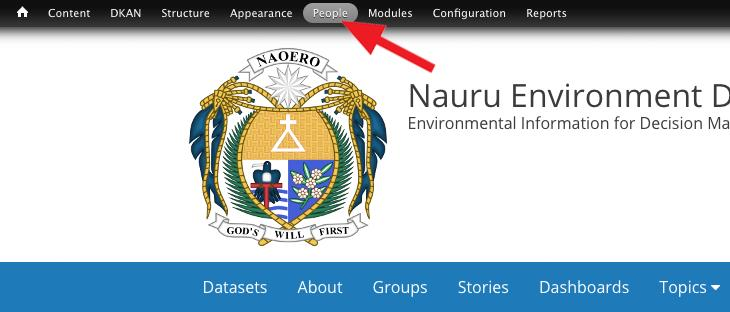
Managing Existing Users
Site managers can manage users by clicking ‘People’ in the Admin Menu. From this screen you can see all existing users, their roles, and details about their account, and by clicking on individual users you can additionally see all the content the user has created. You can also edit their account to change details, add or remove a role, add them to Groups or cancel an account.
- Access the user management page under the People link
List of Users

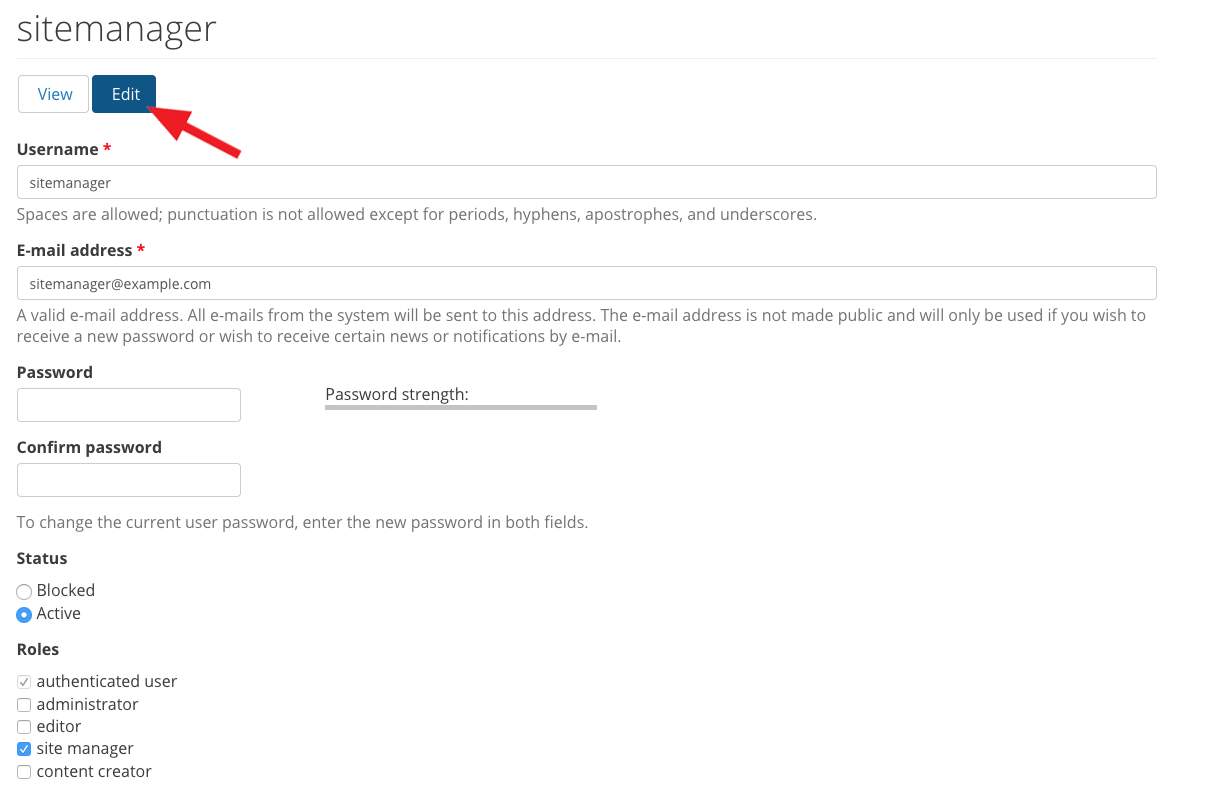
- Editing an existing user’s account
The displayed list of users on the User Management page can be filtered and sorted using the filters at the top of the page. Once you’ve found the user you wish to edit in the user table, click the “edit” link at the end of that user’s row. On the resulting “edit user” page, you can edit the user’s username, email, or profile information. You can also set a new password for the user. Click the “Save” button at the bottom of the page to save your changes.
Blocking a User or Cancelling an Account
At some point, a user account may need to be deleted or blocked. Typically this is for internal employees who move on from the organization, but there are occasions involving external users. There are a number of options for canceling an account or blocking a user to meet a number of scenarios.
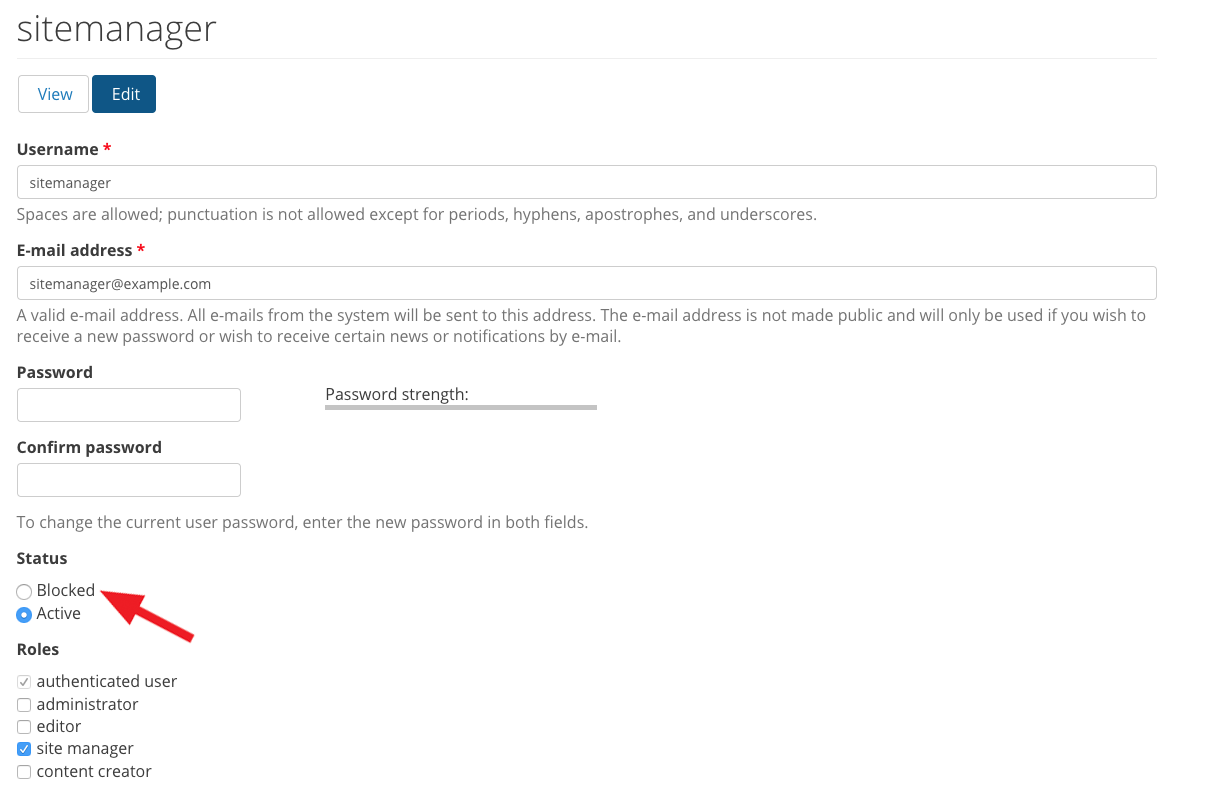
Block an account
Blocking an account is the most simple and straightforward way to suspend an account. Blocking a user account keeps a user from logging in, and accounts can easily be unblocked. A blocked account only means that a user cannot login to their account and access your DKAN site. All of their content and profile details will remain, so nothing is lost if you want to unblock an account and restore access. By blocking an account, you keep users from creating a new account with the same details and avoid repeating the blocking process.
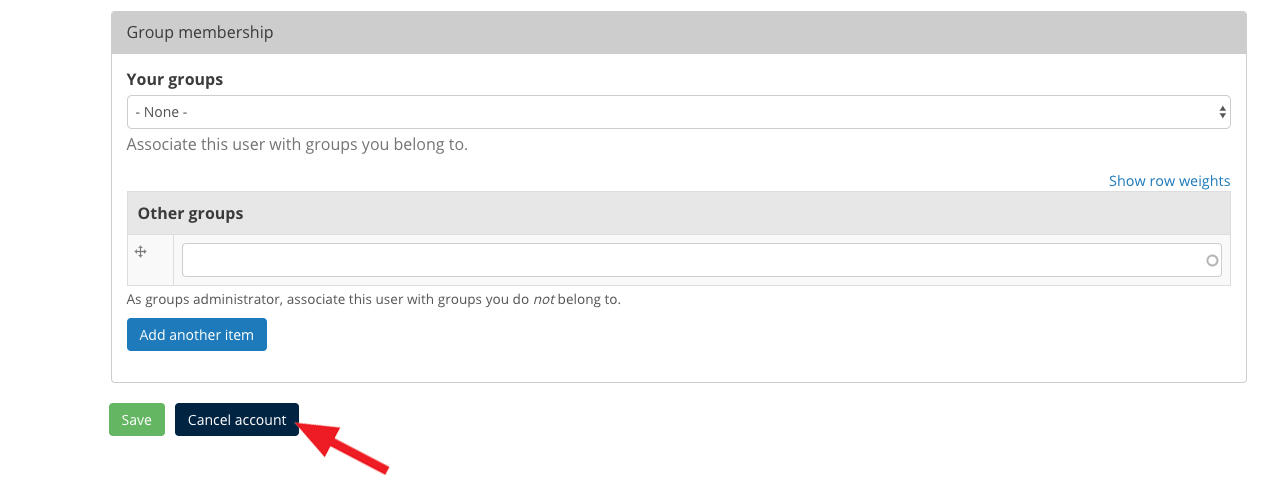
Cancel an account
Canceling an account can be a permanent action, and there are several options to choose from. Some of the actions cannot be reversed, so you should be careful when deciding which option to choose. Below are the options for canceling an account and the implications of selecting the option. While Site Managers can cancel the account of any user on the site, users may also cancel their own accounts.

Disable the account and keep its contents
If you disable the account, the details of the profile remain in tact but the user is blocked from accessing the site with their user login. By keeping the contents, any content that the user published will remain on the live site. Because the account is only disabled (blocked) the user remains as the author of the content and the profile details may still be accessed. This option is similar to just blocking an account, and it’s a good temporary measure in most cases.
Disable the account and unpublish its contents
This option blocks the user from accessing the site and all the content that the user has published will be unpublished. This means that their content will not appear on the live site, but it will still exist behind the scenes. It can be managed out of public view and in the mean time, the user cannot do anything else on the site. This is a good option if you need to review the content a user has published and need it to be off the site but still need to access it.
Delete the account and make its contents belong to the Anonymous User
This is a permanent action. Once you delete an account, you cannot recover any of the details that were associated with the user profile. With this option you can delete the entire account as well as keep its contents. Because the account associated with the user who was the original author no longer exists, the content must be assigned to a different author. This option quickly changes the author so that the content remains on the live site, and you can change the author at any time. Again, this is a permanent option so be careful before making this selection.
Delete the account and its contents
This is a permanent action and the most severe choice when canceling an account. This options not only deletes the user account and all the profile details, it also deletes all the content the user added. Neither the account nor the content can be recovered with this selection. As a general best practice, we recommend never deleting content if it can be edited or simply unpublished.
Require email confirmation
For any option you choose when canceling an account, you can make sure the user is aware by requiring email confirmation. An email will be sent to the email address provided in the user’s profile details. When you check the Require email confirmation box, the account won’t be canceled until the user confirms through the email.